Designing a split keyboard: the egg58
Late last year, I was finally exposed to the comfort of the Ergodox – a staggered-column, split keyboard. However, having been using 60% keyboards for the previous decade, I felt like it had too many keys. While some minimalist split ortho options did exist, I found many of them too minimal or too diverged from the Ergodox design, which I did like in theory.
Like any sane person, I proceeded to learn an entirely new skill in order to fulfill my need for a keyboard that was kinda like an Ergodox but with fewer keys.
Settling on a layout
There exists a tool for designing a custom keyboard layout: the appropriately named keyboard-layout-editor.com. I messed around with it for a while until I landed on a layout.
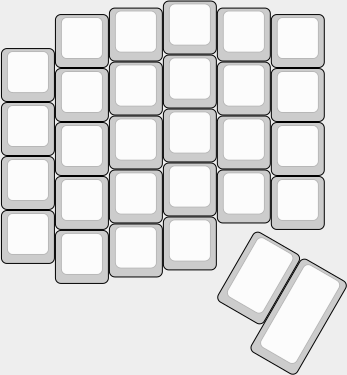
The stagger mimics that from the ergodox, but the thumb cluster is reduced, the innermost column is removed, and the left column is 1u.
Because the tool doesn’t handle split keyboards well, I settled with having just designed half. I managed to generate a switchplate SVG from this design, import it into a CAD tool, and 3D print a “test plate” of sorts so I could feel out the layout.
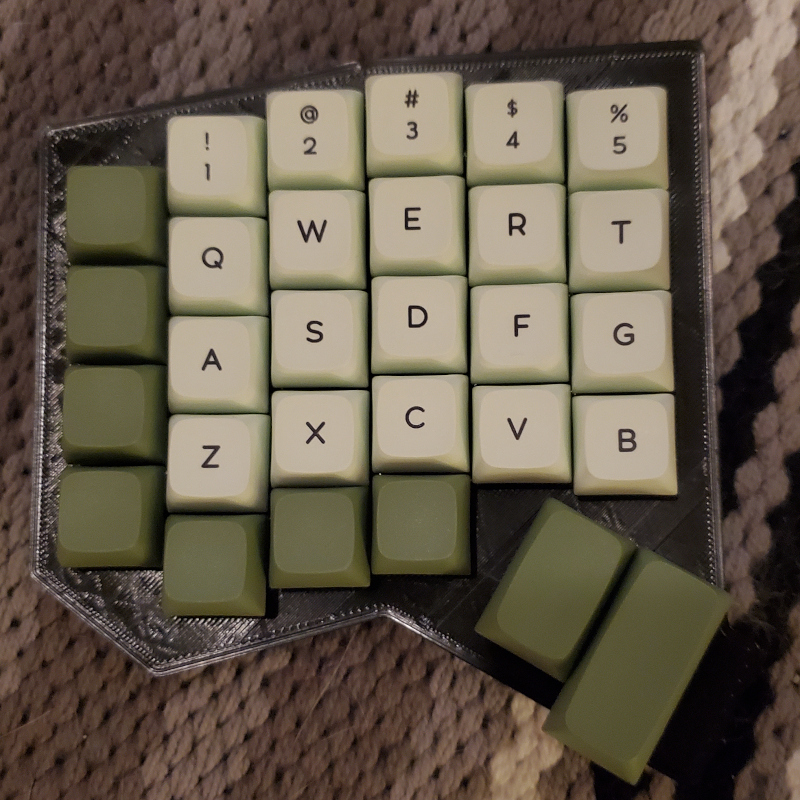
It felt pretty comfortable, so I proceeded to figure out how to make this into something real. I decided I wanted the board to be low-profile but not basically-a-laptop-profile, so I decided on Kailh Choc version 2 switches.
A crash course in circuit design
The easy way out would have been to hand-wire a keyboard in a 3D printed case. However, I wanted some luxury features: hotswap sockets and RGB.
Neither of these would have been possible with a hand wired build, so I proceeded to install KiCad, an open source electronic design automation suite. I have emphasized several times on this blog that I am not an electrical engineer. Therefore, this new flavor of CAD was to be an entirely new skill.
I at least had some vague idea of how schematics worked, so I managed to put something together. I won’t bore you with a figure here, because it’s basically just “a bunch of switches connect to a microcontroller.” The PCB layout and trace routing are a little bit more interesting, but I appear to have lost the original design files, so I can’t provide an image of that for the first version either.
After a couple weeks, I managed to complete my design and sent the Gerber files off to One Of Those Overseas Manufacturers for prototype production.
After about a month, some PCBs arrived. I built the keyboard. I forked QMK. I flashed firmware. It worked.
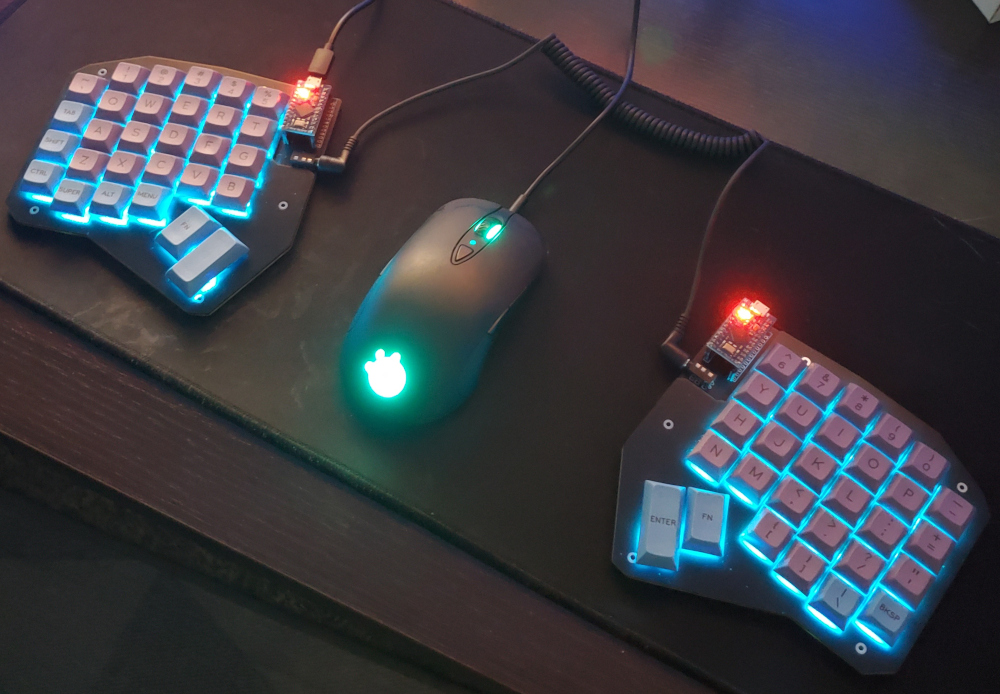
Ignore my dirty mousepad.
Getting it working is not enough
It turns out that the only keycap profile that really works with Choc v2 is DSA. There are also no shine-through keycaps in DSA profile. And it’s hard to find a legended keycap set that will work well for a custom layout like this.
I eventually spent Too Much Money on a set of keycaps and still wasn’t satisfied, as with a switchplate DSA still bottoms out. I then found a nice set of shine-through caps for Choc v1, and decided to redesign the entire board around them.
A new design cycle started, around the new switch footprint and targeted keycap set. A few other minor changes were made. A logo was placed on the PCB, some prettification was done, and options for other MCUs and communication protocols were added.
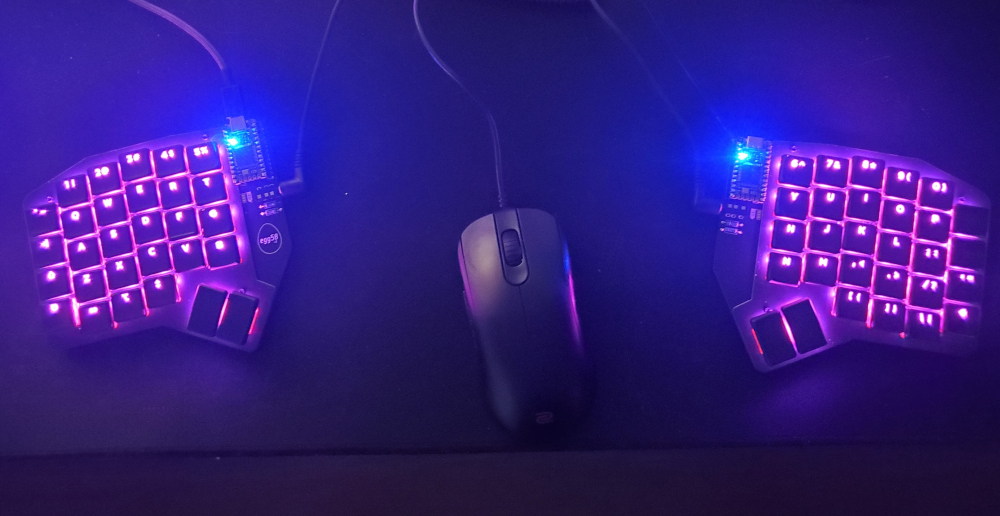
Several months later, some PCBs showed up at my door. I built the board. I installed the keycaps.
Epilogue
It’s been less than twenty four hours with the new keyboard. So far, I have nothing to complain about, except the fact that this keycap set didnt have + and - keys.

I’m happy with it for now.
Here are some Github links: